As an Amazon Associate I earn from qualifying purchases. This post may contain affiliate links.
Few things taste more like summer than buttery corn on the cob. 🌞 But what if you could enjoy that sweet, crisp flavor in the middle of winter? Good news, you can! With just a little prep, you can cook and freeze corn on the cob so it’s ready to enjoy long after the last farmers’ market closes.
This step-by-step guide shows you exactly how to do it, no special equipment required.
🛒 What You’ll Need
- Fresh corn on the cob (the fresher, the better)
- Large pot for boiling
- Tongs
- Large bowl with ice water (for blanching)
- Freezer-safe bags or containers
- Sharp knife (optional, if cutting kernels off the cob)
How to Cook and Freeze Corn on the Cob (Freezer Guide)
Learn how to cook and freeze corn on the cob so you can enjoy local corn year-round!
Ingredients
- 4 ears of corn, shucked
- 1 tablespoon salt
- 2 tablespoons butter
Instructions
To Steam:
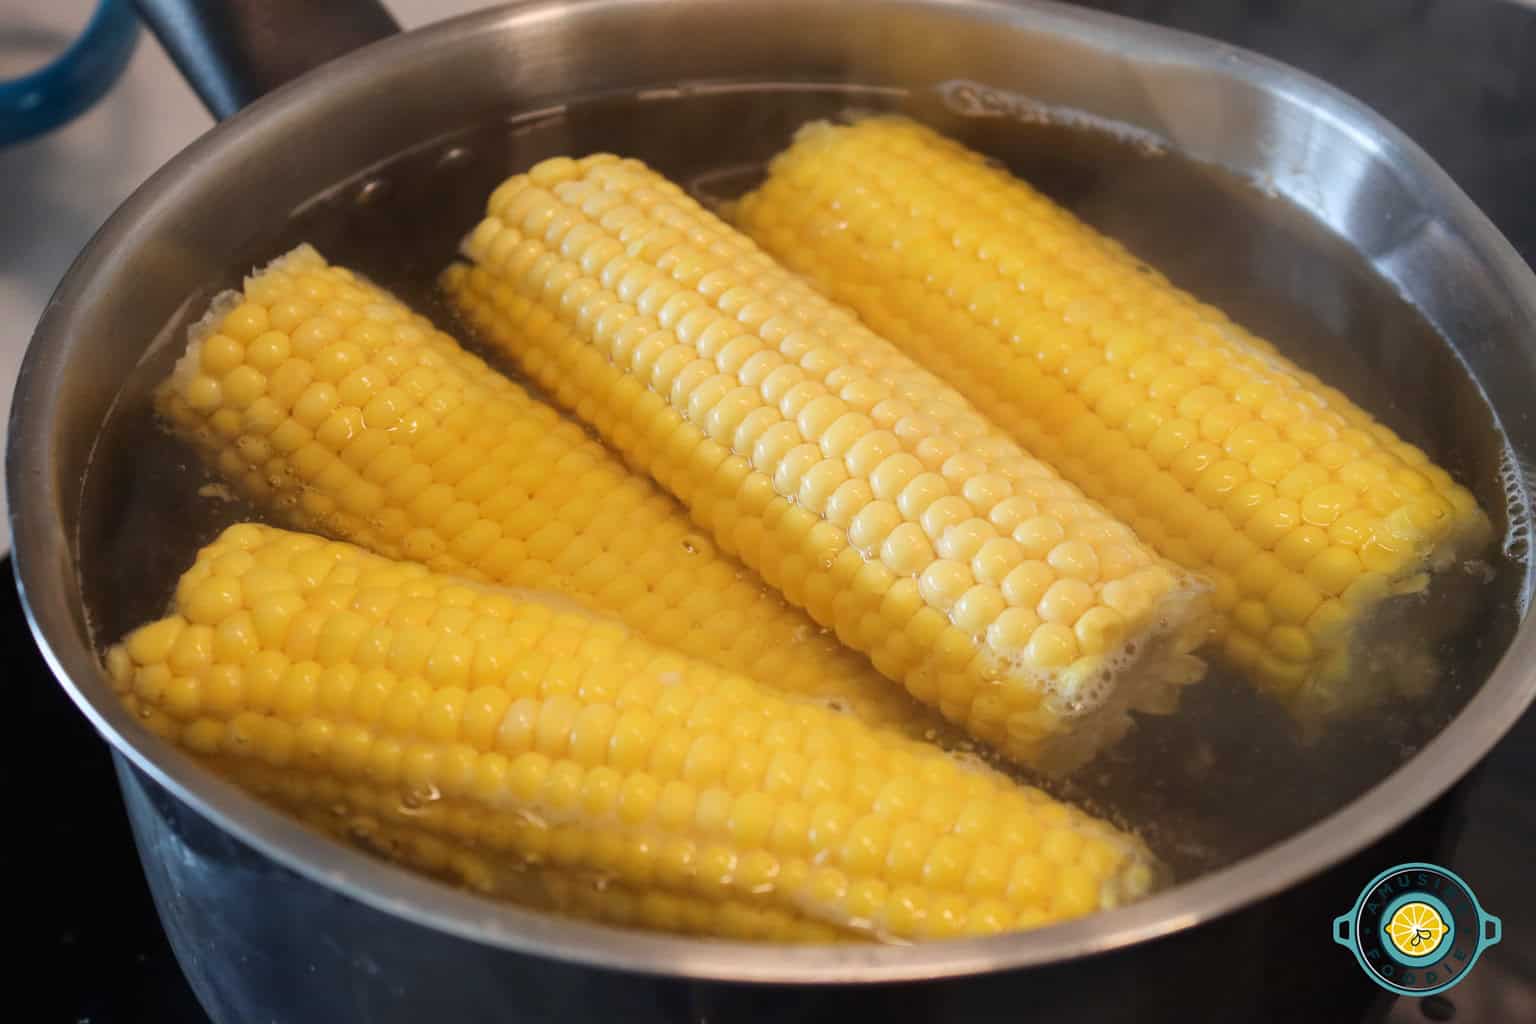
- Fill a large pot 1-inch full with water. Add the salt, and bring to a boil.
- Lay the corn on the bottom of the pot, cover, and steam for 2 minutes. Turn the corn over, re-cover, and continue steaming for 2 minutes more. If you have a steamer basket insert, use it (and then don't worry about the salt in the water).
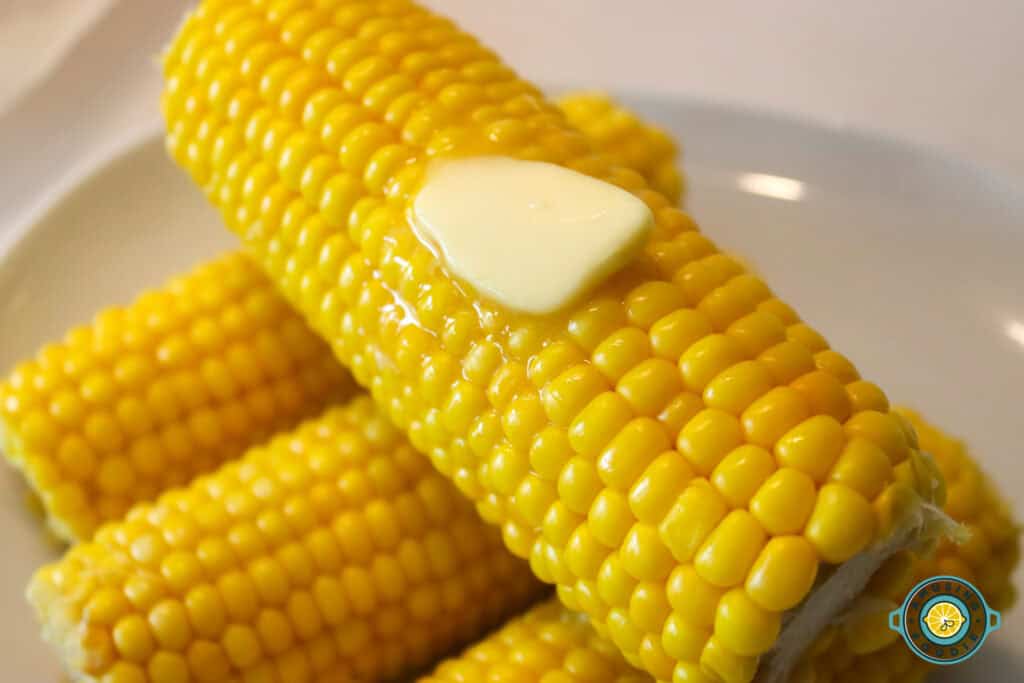
- Serve the corn on the cob hot, smeared with butter.
Now, if you bought a bushel of corn to last through winter...
To Freeze:
- After cooking the corn, before the "smear with butter" step, let the ears cool to room temperature.
- Using a sharp knife, gently (and carefully!) slice off the kernels from each cob.
- Spread the kernels in one layer on a large sheet pan, and place in the freezer for one hour (this will keep the kernels from sticking together).
- Remove and store the corn in a zip-top freezer bag in the freezer until you’re ready to cook later!
Nutrition Information:
Yield: 4 Serving Size: 1 Amount Per Serving: Calories: 127Total Fat: 7gSaturated Fat: 4gTrans Fat: 0gUnsaturated Fat: 2gCholesterol: 15mgSodium: 1633mgCarbohydrates: 17gFiber: 2gSugar: 4gProtein: 3g🌽 Step 1: Pick the Freshest Corn
- Choose ears with bright green husks, golden silk, and plump kernels.
- Pro tip: Cook and freeze corn the same day you buy or pick it for the best flavor.
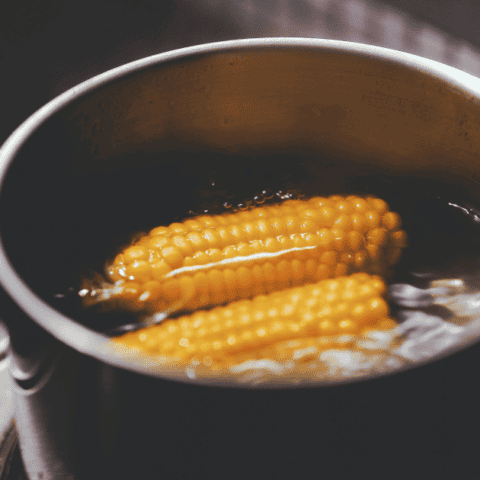
🍲 Step 2: Blanch the Corn
Blanching helps preserve flavor, texture, and nutrients.
- Bring a large pot of water to a boil.
- Drop in 4–6 ears at a time.
- Boil for 4–5 minutes.
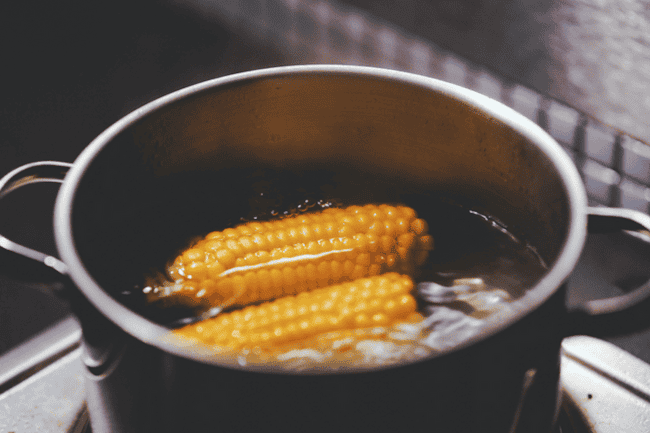
- Immediately transfer corn into ice water to stop cooking.
🧊 Step 3: Freeze Whole or Cut Corn
You’ve got two options here:
- Whole Cobs: Pat dry and place in freezer bags. Remove as much air as possible before sealing.
- Kernels Only: Cut the kernels off with a sharp knife, spread on a baking sheet to freeze individually, then transfer to bags.
🗓️ Step 4: Label & Store
- Write the date on each bag (corn is best within 8–12 months).
- Store flat in the freezer to save space.
🍴 Step 5: Reheat and Enjoy
When you’re ready for summer in January:
- Whole Cobs: Boil, steam, or microwave directly from frozen (no need to thaw).
- Kernels: Add straight to soups, casseroles, or stir-fries.
✅ Why This Works for Families
Easy Meal Prep: Toss into weeknight dinners without last-minute shopping.
Budget-Friendly: Stock up on corn when it’s cheap and in season.
Kid-Approved: Frozen corn keeps its sweetness, picky eaters won’t know the difference.

